In this post, we’re starting a new series, the Advent of Cyber, hosted by TryHackMe. This is the fourth year of the Advent of Cyber, where a challenge is released every day leading to Christmas. There will be 25 challenges; we’re McSkidy, an elf trying to save Christmas.
In our second challenge, we’re presented with a scenario where a web server, santagift.shop, has been hijacked by the Bandit Yeti APT group. Our task is to analyze the log files from the web server and track down the Bandit Yeti APT group.
The topics explored in this challenge are different ways to parse log files, such as Windows Event Viewer, and common system log files in Linux, such as the /var/log directory. And common commands such as grep are used to search for text in a file.
Can McSkidy parse the web server log files and track down the Bandit Yeti APT group? Find out below!
In this post, we’re starting a new series, the Advent of Cyber, hosted by TryHackMe. This is the fourth year of the Advent of Cyber, where a challenge is released every day leading to Christmas. There will be 25 challenges; we’re McSkidy, an elf trying to save Christmas.
In our first challenge, we’re presented with a scenario where McSkidy discovered the Best Festival’s Company website has been defaced, and Santa cannot send gifts! McSkidy must complete three puzzles to determine who attacked Santa’s network and find the flag.
The topics explored in this challenge are security frameworks such as NIST, ISO 27001, MITRE Att&ck, Cyber Kill Chain, and Unified Kill Chain.
Can McSkidy solve the three puzzles to find the flag? Find out below!
What’s different between version 1.1.2 to version 2. Well… keep reading
In version 2 I added more dynamic analysis tools such as MARA, PIDCat, QARK. In the pentesting section, I added Metasploit. I also added MobSF (a one stop shop with dynamic scanning for android applications) in a docker container. In version 1.1.2 I tried to upgrade my python version to 3.7.5 and broke my Linux build (could not update the distro).
After speaking with Anant (owner/creator of @AndroidTamer) we decided to put MobSF into a docker container to keep it contained and not break our build.
I also created the virtual machine from a vagrant machine, as I realized with version 1, I severely underestimated the storage I needed to include all the programs I wanted. I also included insecure android apps to test in the Documents folder.
Interested in learning more – download/use the virtual machine at the following location:
As the title suggests, I am working on the second version of the virtual machine I created in 2019.
I put myself out there and decided to create a training on Mobile Security and Bug Bounties – something I wanted to learn and am still interested in.
I noticed there was a virtual machine titled – Android Tamer, score! Well… not really. At the time, Android Tamer was SUPER out of date. Speaking with the creator, Anant Shrivastava about my dilemma needing a virtual machine for my training. Anant told me that it would be easier to create my own virtual machine as opposed to fixing the current version of Android Tamer.
Creating my own virtual machine? I’ve never done that before. Challenge accepted!
Anant, was SUPER helpful with all of my questions and guided me on creating the virtual machine. In about a month the first version was created. Yay!
After the training, I asked for feedback and decided I needed to revamp the virtual machine to make it more accessible/user friendly.
I added and updated out of date software in the virtual machine.
Then I noticed – I was running out of memory when trying to do my upgrades.
I realized at that moment, I totally underestimated the size of the virtual machine.
So, at this time I am revamping the virtual machine and starting with a barebone version of Ubuntu 18.04 (this is the OS the first version was built on) from Vagrant. Again, Anant gave me this advice when creating the first version. I didn’t go down that path as I never heard of Vagrant.
Speaking of Vagrant – shameless plug – I created a course through Cybrary on Intro to Vagrant. The course can be found here.
I started on the quest to version 2 yesterday (Sunday February 7, 2021), and I must say it was trying, yet fun.
Once I created the vagrantfile and started the vagrant box I realized I was dealing with the command prompt. I knew this wasn’t going to work and I needed to add a user interface. Looking on the internet, I found the lightdm and tried installing it. Once I rebooted my virtual machine, I encountered the error “could not log into session.” The login did not work.
Putting my research hat, I found the following link on how to remediate the no session login. Hmm, the ligthdm is using an older version of the unity framework that needs to be removed.
Rebooting the machine – it was a…
Somewhat success.
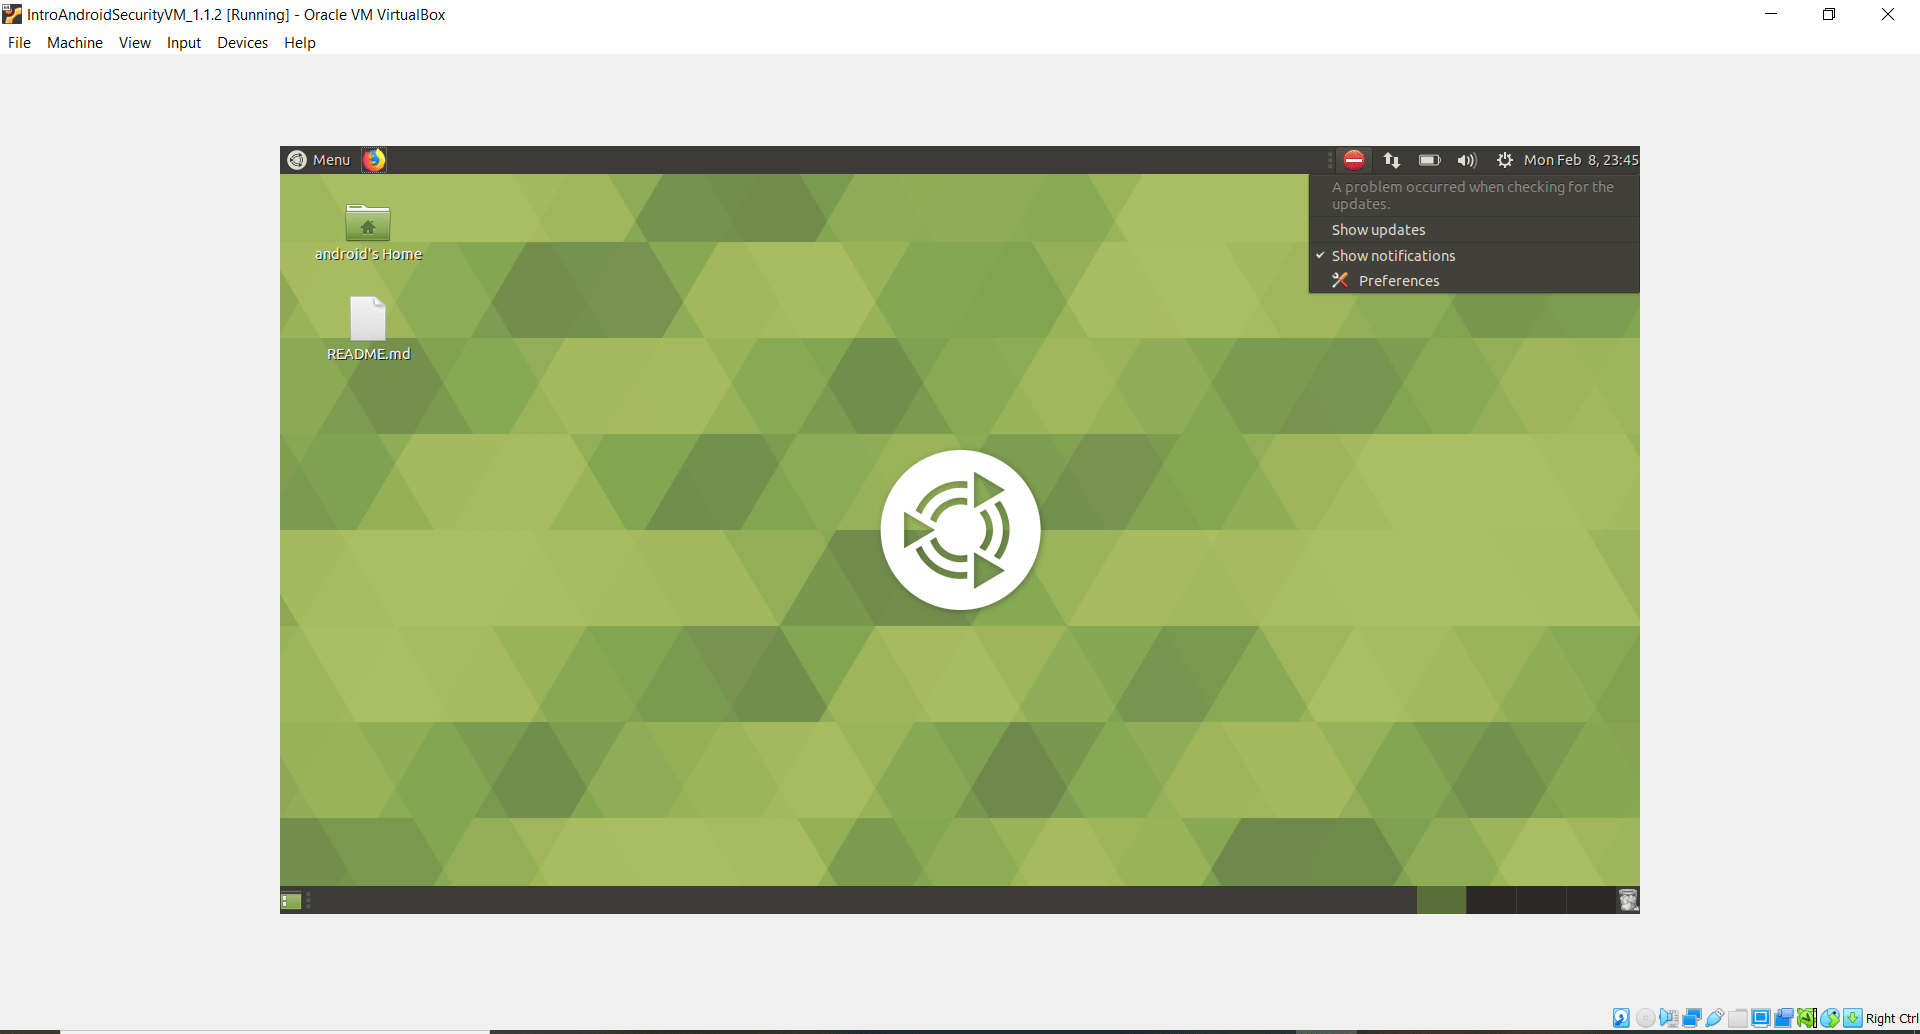
I had a user interface, but I didn’t like it. See tweets below
: Here's a screenshot of the VM. I want to have the same look and feel as Ubuntu 18.04. Need to do more research. I'll probably create a blog when I'm done. #MobileSecuritypic.twitter.com/90ihMytwCt
I wanted the user interface to have the same feel as the 18.04 Bionic Beaver operating system.
Doing even more research I found that 18.04 Bionic Beaver is using the MATE desktop.
Back to Google I go. I found a great site on how to install MATE onto a Linux operating system.
Somewhat score? The user interface is getting close, but not there.
: Progress!!! Research showed 18.04 Bionic Beaver was using MATE desktop. So scrapped my original VM, created a new one in #Vagrant and installed MATE desktop. Here's the update… pic.twitter.com/Cnzzl6KoH5
Going back to the site above, I noticed that I installed the wrong version of the MATE desktop. I installed just the MATE desktop without the bells and whistles.
Looking at the bottom for the Ubuntu section it states – “
Alternatively you may choose to install Ubuntu MATE Remix.
Ubuntu MATE is a more comprehensive option that offers a slightly tweaked layout, configuration, and themes to integrate into Ubuntu in a more seamless fashion. This will install the complete MATE Desktop Environment as well as LightDM and numerous other applications to provide a full and well rounded desktop.“
Once I installed the Remixed version – I finally found success!
Now that I have the interface I wanted – it’s time to add the tools and insecure apps.
Yes, that’s what set my virtual machine apart – I have insecure android apps installed in the virtual machine for students to learn mobile and android hacking as well as the common programs needed to perform mobile and android hacking.
In today’s blog post we will solve level 7 from the Natas wargame challenge.
Let’s begin.
Going to the following link, and entering username “natas7” and password “7z3hEENjQtflzgnT29q7wAvMNfZdh0i9” we see the following:
Hmm… we see a Home and About links. Let’s click the links and see what happens.
After clicking the links we see there’s not much that’s showing on the screen.
Let’s view the source and see if there are any hints there.
Doing a right click, view page source we see:
Hmm… we see a comment that says, “password for webuser natas8 is in /etc/natas_webpass/natas8”
How can we use this information?
Looking at the above screenshots of Home and About – we notice that at the end of the URL it’s referencing a page. For instance for the home page it’s “page=Home” and for About it’s “page=About”. Let’s try to change the page name to the hint that was provided to us.
In today’s blog post we’re going to solve the “A Thing Called A Stack” challenge from PicoCTF.
Let’s get started.
Clicking on the challenge, we see the following:
OK, so we’re given a file, and we need to determine the difference between the value of esp at the end of the code, and the location of the saved return address.
Looking at the hints we see the following:
We’ve encountered two different questions. Where is the return address saved, and what commands actually affect the stack.
DISCLAIMER: I haven’t worked with assembly in probably 8 years. So, what did I do? Go to YouTube.
Entering – “Assembly tutorial” I found a GREAT crash course on explaining assembly.
Today’s blog post we will solving the “Special Agent User” challenge in the PicoCTF.
Let’s get started.
Clicking on the challenge we see:
We have another pcap (packet capture file) and we need to find the User Agent. OK. Sounds plausible. Let’s look at the hints.
There’s a link that discuss more about user-agents. Let’s go to that link.
Opening that link we see the following:
The web page explains the different components of the User-String. This will be useful.
Opening the packet capture file we notice the usual stuff UDP, and ICMP packets. And like with the first “Digital Camouflage” challenge we can ignore this.
User-Agent strings are found in HTTP requests. We need to look at packet captures for just HTTP requests.
Doing this we see a packet that’s piqued our interest…
On packet 80 (GET / HTTP/1.1) we’ll do a right click, Follow, HTTP stream.
Doing this we have the following:
Looking at the last entry in the user agent, we can see that the packet is using Firefox 25. Entering that as the flag, we’ve acquired 50 points!


You must be logged in to post a comment.